— Official Website Description
Growhouse is a map featured in Battlefield Hardline. The map is set during a SWAT raid on an illegal marijuana growing operation using the front of a laundry business.[1] The map was prominently featured during the Rescue trailer.
Overview[]
The map is set within an industrial zone of Los Angeles during the night, and consists of a large warehouse in the centre of the map, surrounding alleyways and adjacent storage buildings. While most fighting takes place at close range in the cramped interior of the warehouse and underground corridors of the growhouse, elevated positions and long alleyways on street level allow opportunities for long range engagements. There are no vehicles on any game mode variant of this map. As a result, Hotwire is not available on Growhouse.
Conquest[]
Growhouse is one of a number of maps in Battlefield Hardline catering towards frantic, infantry-only action. Conquest on this map rewards players for rapid movement between objectives and making the best of alternative pathways, overwatch positions and the limited cover of some areas, particularly outside. Holding objectives is made difficult due to the large capture zones of each objective, the relative proximity between each faction's deployments and the general confusion caused by point-blank gun battles in the dark, enclosed spaces that characterize much of the map.
Deployments[]
Both teams deploy from warehouses on opposite sides of Growhouse. While their outside spawn area is blocked from line of sight by the warehouses directly parallel with each deployment, and is protected from enemy players via boundaries, the interior of each warehouse is not restricted. The map features three flags in total. Except from the player limit, Conquest Large is identical to standard Conquest on this map
Undercover's Deployment[]
The Law Enforcers start on the southern edge of the map, in the loading dock behind the "Ship it!" warehouse. Staircases to the roof are in the southwest and northeast sections of the warehouse interior, in addition to ladders on the northwest side of the warehouse exterior.
")
")
")
Thieves' Deployment[]
The Thieves start on the northern edge of the map, behind the "Los Mariachis Gorditos" tortilla factory. Rooftop access is through a doorway in the north-east corner of the loading dock, and from a stairwell on the western factory floor. Ladders, and a destructible gantry, on the southern side of the building exterior also allow access to the roof.
")
")
")
Flags[]
A: Train Yard[]
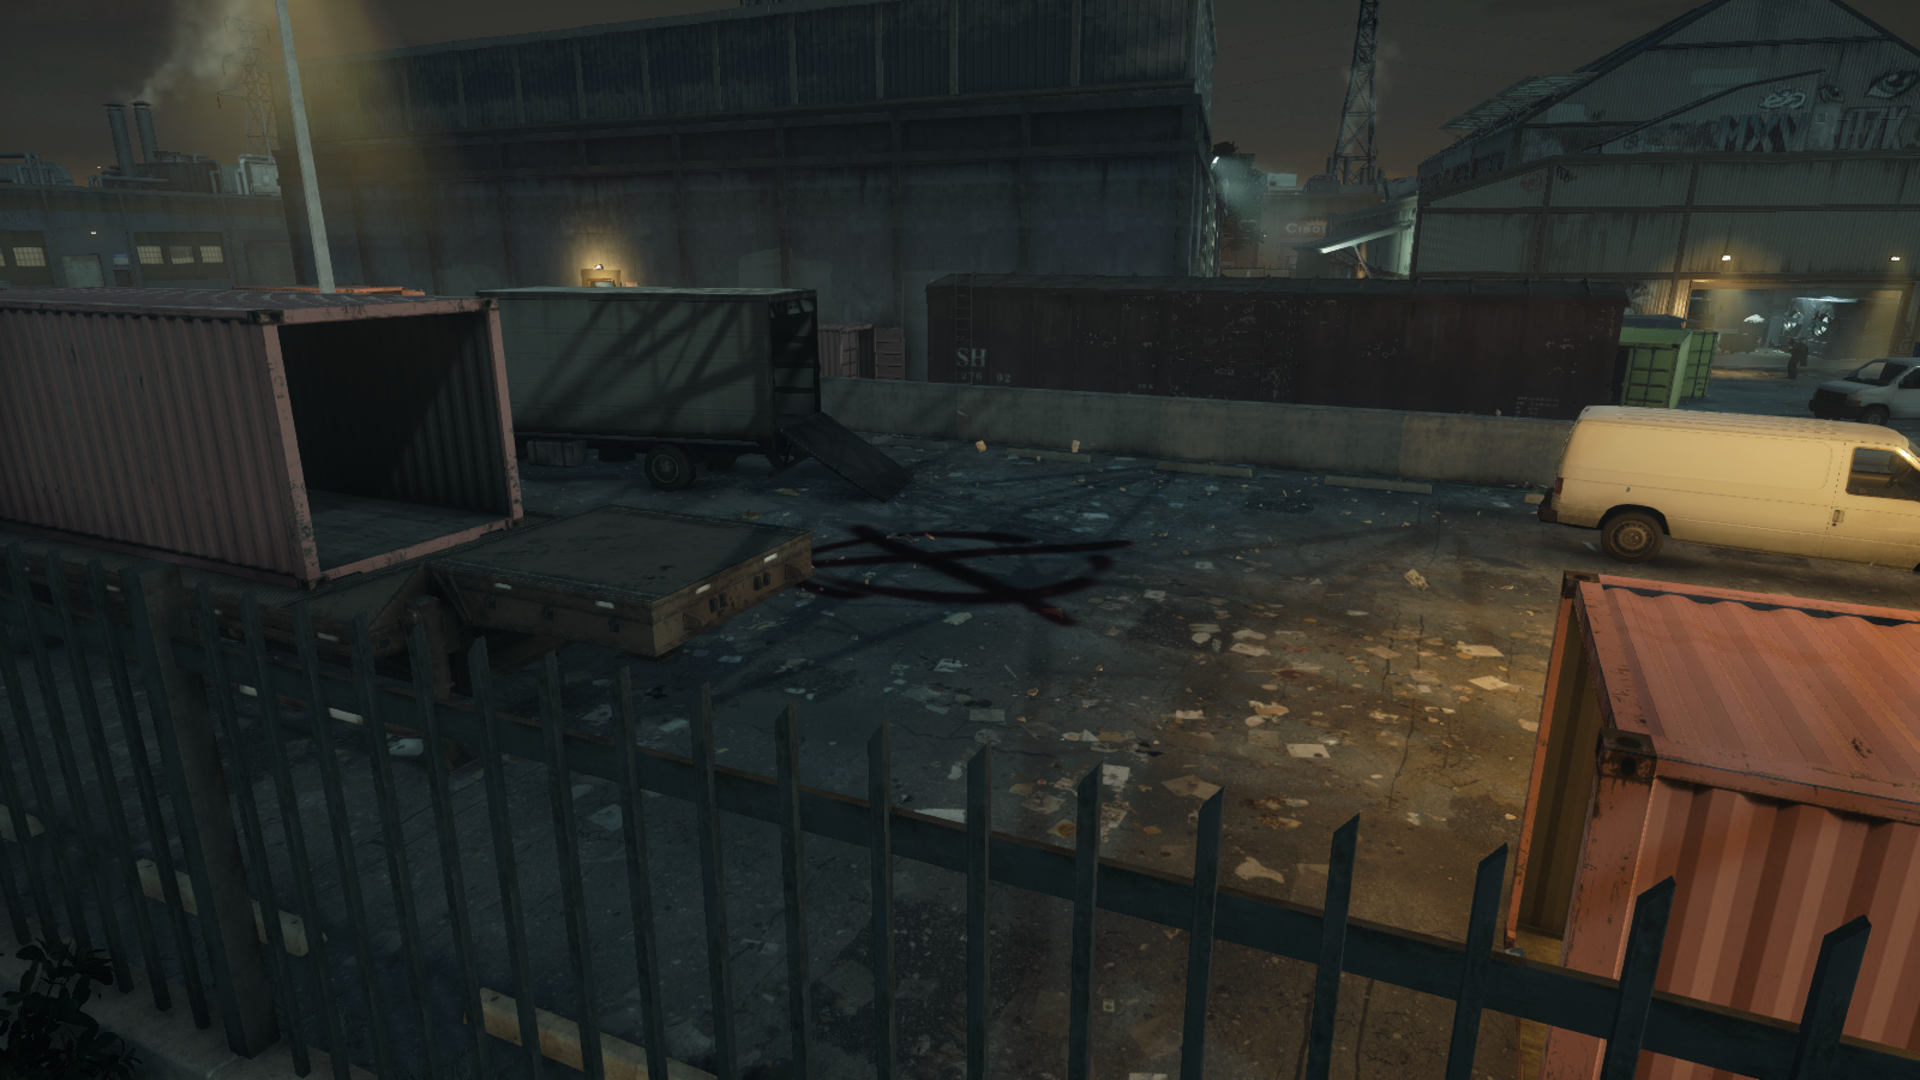
The Train Yard is on the eastern edge of the map, with the flag itself situated on the platform of a railyard, in a large open courtyard adjacent to the main warehouse. The area around the capture zone is littered with shipping containers, waist-high concrete walls and tall stationary train cars, granting plenty of line of sight blockers and overhead cover. However, the spaces between each cover piece are large and fairly exposed, especially to fire from the rooftops of any of the surrounding warehouses. A large red gas canister on the bed of a train car can be ignited with gunfire, eventually exploding and blasting a hole in the courtyard between the rail yard and the central warehouse, providing another access route to the underground growhouse.
A Grappling Hook is found within a shipping container on the southern side of the rail line.
")
")
")
B: Growhouse[]
The Growhouse is found within the lower ground areas of the central warehouse. The upper floor is a laundromat, with staircase access to the basement and a raised catwalk leading to the roof. The capture zone is within a large rectangular room dedicated to the production of cannabis plants. Although there is little in the way of solid cover except concrete pillars that grant only directional protection, the rows of plants can block line of sight, and allow players to hide inside the capture radius. As part of a levolution event, the plants can catch on fire, with the resulting blaze and activation of fire sprinklers obscuring vision. The alleys surrounding the warehouse on street level also contain stairwells leading to the basement corridors of the growhouse.
The central warehouse has a number of battle pickups scattered within. A first aid box and ammunition locker are within an office on the northwest corner of the ground floor. A Defibrillator pack is located on the wall of the laundromat floor. A Zipline launcher is found on the eastern side of the roof. Below ground, another ammo locker and first aid box are located within a small office on the west end of the growhouse.
")
")
")
")
")
")
")
C: Main Street[]
The Main Street flag is located on a road blocked with police cars and other vehicles on the western side of the map. The capture zone is extremely exposed due to little cover, and those seizing the flag are subject to fire from the roofs of each warehouse. A large truck on the west edge of the capture zone provides the only decent line of sight blocker when capturing, in addition to a bus on the north side.
")
")
")
Heist[]
In Heist, a team of Thieves are tasked with making off with two bags of contraband, presumably marijuana, from under the noses of the Undercover police force in the process of securing the crime scene. It is their job to stop the Criminals from escaping with any of the would-be product.
Deployments[]
Undercover's Deployment[]
The Undercover team starts in their conquest deployment, in and around the southern "Ship-It!" warehouse. Their initial deployment is slightly further forward--once the enemy team completes the Break-In phase, spawning players will always spawn in the parking lot behind the building rather than inside.
Thieves' Deployment[]
The Thieves, much like the Police, use their standard Conquest deployment point of the Tortilla factory on the map's northern edge. In an additional similarity, their spawn is pushed slightly further north once the Break-In happens.
Break-In[]


During the Break-In phase, all the entrances to the underground Growhouse are sealed behind doors that need to be blasted open using timed demolition charges on 30 second timers. The Thieves have the choice between four different entry points to the tunnels to set charges on, in addition to the fuel-containing rail tanker that can be destroyed to create a fifth entrance. The numerous options open to the Criminals make stopping them at this stage somewhat difficult. Both bags of product are found on the floor in the middle of the plantation.
Escape[]
After creating an entry point, the Thieves must run the bags to two of three possible helicopter pick up zones, which are randomly selected. Once one bag is away, only one of the two remaining objectives is activated. The short distance between each extraction point and the central Growhouse can theoretically allow for a quick exit. However, the maze of underground tunnels leading to the surface and escape can confound these efforts, while the most of the extraction zones require the bag carrier to run through highly exposed areas to secure their loot.
Escape A[]

Escape A is located on the eastern side of the map, on the south end of the loading platform in the Train Yard. The dash from the staircase exits is across the wide and dangerous low ground of the rail yard, where runners are at the mercy of shooters on the factory roofs. A shorter route is through the tunnel created by the fuel tanker blast, but this offers a hazard of its own as it functions as a bottleneck for defenders to exploit. Once at extraction, shipping containers and rail carriages are the most substantial protection from the NARC squad opposition.
Escape B[]


Escape B is found in the middle of the Main Street on the western side of the map. This area is similarly devoid of cover save for a few parked vehicles of various types, and requires a similar sprint across an open courtyard to reach. Somewhat tough to overcome is the fact that the objective is within direct line of sight to several possible Police spawn locations down the road to the south.
Escape C[]


Escape C is on the western section of the roof of the shipping warehouse. This extraction point, slightly above the SWAT team's deployment location, allows them to rapidly set up defences around it once the objective is activated. Thieves attempting to reach the top floor via one of the staircases or ladders may be met by strong enemy resistance, therefore persuading players to find an alternate route. Two examples are the staircase within the eastern end of the building near the railyard, or by ziplining across from the roof of the laundromat. Of further note is the fact that the extraction point itself is atop a shed-like structure on the warehouse rooftop that is accessible by ladder, leaving runners making the final climb to escape extremely vulnerable for a few desperate seconds, and forming another chokepoint the defenders can utilize to their advantage.
Blood Money[]
Blood Money takes place across the full length of the map and features slightly altered spawn locations for each team compared to Conquest--to increase the distance between the deployments and their respective vaults, players do not spawn inside the factory buildings themselves. Control of the rooftops is ever crucial in this gamemode to secure escape routes for each team's bagmen.
Deployments[]
Undercover's Deployment[]
The Undercover team deploy from a marginally expanded version of their standard Conquest location of the southern Shipping warehouse. Players may also start in the delivery area of the Cibola warehouse south of Main Street and in the southern end of the rail yard.
Thieves' Deployment[]
The Thieves also start nearby their Conquest spawn behind the Tortilla factory. Players spawning here are placed along a horizontal axis along the map's northern side, with possible starting locations extending to a car park at the top of Main Street and next to the towers within the Train Yard.
Vaults[]
Undercover's Vault[]


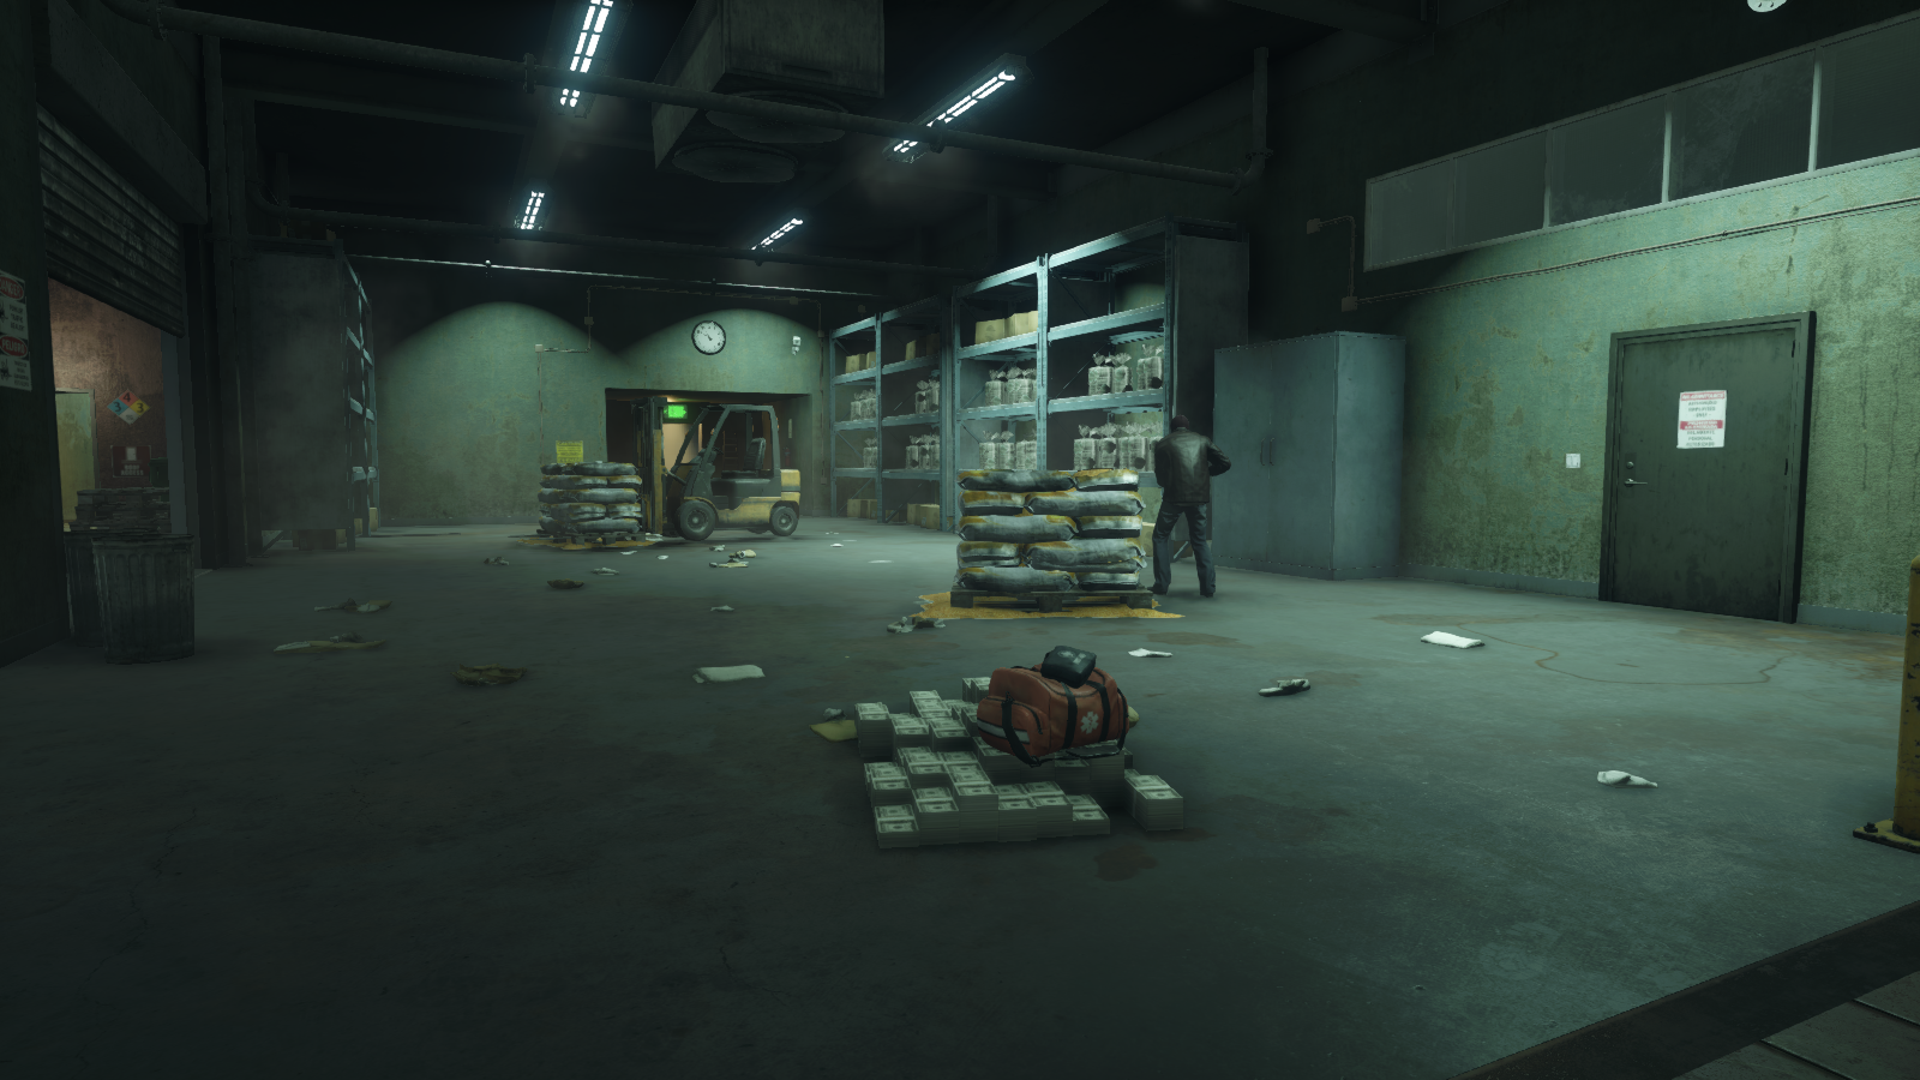
The Undercover's money drop-off point is the middle of the floor in the shipping warehouse's main room. The Police can spawn in the loading bay within a grenade-throw's range of the objective, so stealing from the vault can be problematic, aggravated by the lack of solid cover in the immediate area.
Thieves' Vault[]

The Thieves' money drop-off point is the floor of the packaging room in the Tortilla factory. Located just inside from the Criminals' main spawn, the area can be rapidly reinforced once the cash pile is disturbed, overwhelming attackers using the meagre cover spots in the hall--fragile palettes of seed corn.
Money Pile[]


The Money pile is located in a small clearing in the middle of the underground Growhouse. Line of sight to the cash trolley is somewhat occluded by the rows of plants and concrete pillars lining the area, further worsened should the product be set alight. Despite this, the central location of the money pile and many entrances into the room do not make cash grabbers any less vulnerable, requiring the room be secured via close quarter arms and grenades. For additional protection, the entrance ways can be booby trapped or mined to slow down attackers, and the relatively secluded adjacent rooms and corridors can be used to hide Satellite Phones.
Rescue[]
The map boundaries of Rescue prevent players from entering the Conquest deployments, but otherwise allow free traverse of the map. The rescuers will have to find a way into the lower areas of the Growhouse to retrieve the hostages, either by tunnels on the north-east, south-east and south-west exterior, the staircase on the laundromat's ground floor, or alternatively by blowing up the fuel car in the train yard and blasting a hole in the back wall of the underground room.
The Undercover rescuers start outside the west door of the warehouse, on the main street, while the Thieves start on a raised platform on the east end of the underground growhouse, next to the hostages. Hostage 1 is in the northeast corner of the growhouse and Hostage 2 is directly parallel in the southeast corner. The escape car is directly in front of the Police's spawn.
")
")
Crosshair[]
Crosshair uses the same map boundaries as Rescue, by cutting off the adjacent factories of the north and south extremities, forcing the Police team down a corridor consisting of the Laundromat, its alleyways and the Train Yard beyond them. The VIP and the Undercover escort start on the west side of the map, by the police cordon on Main Street. The Thieves deploy on either extraction point within the Train Yard on the eastern map edge. Escape point A is the loading ramp of a delivery truck on the northern section of the loading platform, while Escape point B is a non driveable utility van further south. Weapon lockers to arm the VIP consist of an MG36 in the foreman office of the laundromat and an RPG-7 in a machine room on the north-west side of the rail yard.
Team Deathmatch[]
Team Deathmatch takes place across the entire length of the map, and includes the Conquest deployment locations.
Levolution[]
There is a train car at the Train Yard that can be blown up to create a new passageway into the grow room below the laundromat. Not a major levolution but Gas Canisters are scattered throughout the Growhouse and create new entry points whilst the pot farm can be set on fire itself by Gas Canisters too that later set of sprinklers and destroy the rooms lighting.[2]
")
")
")
Gallery[]
")
")
")
")
")
")
")
")
")
")
")
")
")
")
")
")
")
")
")
")
| ||||||||||||||||||||
Trivia[]
- The main growhouse and basement are based on their equivalents in the single-player level Case Closed.
- The train and tanker areas are based on their equivalents in the single-player level Out of Business.
- Conquest Large was added to Growhouse in the 1.02 patch on April 28, 2015[3]
- In the game files this map is named mp_growhouse.